Pagina's

Posts tonen met het label pronty crafts. Alle posts tonen

zondag 27 januari 2019

Valentijnskaartje

Hallo iedereen,
vandaag ga ik aan de slag om een valentijnskaart te maken.

Hello everyone,
Today I will be making a valentines day card

Hiervoor moest ik wel de geweldig leuke stencil
 van Julia Woning met de lippen (470.765.004) gebruiken.
Ik had een iets dikker papier genomen 
om het blenden vlotter te laten gaan,
vervolgens heb ik het stencil vastgeplakt aan mijn werkblad.  
En deze keer heb ik niet met een dauber gewerkt, 
maar gewoon met een droge, zachte verfborstel,
hierdoor krijg je een zachter resultaat van het blenden, 
ik moet zeggen, 
ik vind het effect enorm geslaagd.


I just had to use the amazing stencil by Julia Woning with the lips (470.765.004).
I used a slightly thicker cardstock this time
to make the blending a bit easier.
I've taped the stencil on my work surface.
This time, I didn't use a dauber, but instead
a normal, dry & soft paint brush,
you'll get a really subtle look with blending,
and I must say,
I really really like this effect.

Hier het resultaat van het blenden, 
ik heb 2 kleuren van de Distress Oxides gebruikt, 
ik vind deze inkten enorm geschikt voor het blenden,
 sommige stukjes zijn daardoor iets donkerder geworden


Here you see the result of the blending,
I've used 2 colours of ink Distress Oxides, 
I really like the inks for blending
some areas are a bit darker because of that.

Ik heb een hart stans gebruikt en vervolgens vastgelijmd.

I've used a heart die
which I glued to the cardstock

Vervolgens nog een tekstje 3 keer uitgestansd 
en op elkaar gelijmd voor een beetje dimensie

I've cut out the word 3 times, 
and glued it together for a bit of dimension

Tot slot, nog een extra laagje onder de kaart, en op een kaartbasis gedaan.
Ik vind het een heel leuk kaartje geworden.
Het is niet te hevig, 
ik hou van de iets simpelere kaarten

Finally, I've added an extra layer of cardstock
and glued everything on a side folded card.
I really like how this card turned out.
It's not too busy,
I love the simplicity of a handmade card


Dit was mijn blogpost voor deze maand, 
hopelijk zijn jullie weer geïnspireerd geraakt om 
zelf aan de slag te gaan met de producten van Pronty Crafts.
Laat zeker jullie creaties zien in onze Facebook groep.
vind het super om iedereen zijn creaties te bekijken
Fijne dag iedereen 


This was my blogpost for this month,
hopefully you all got inspired to create some 
beautiful things on your own, 
with the product of Pronty Crafts
Be sure to upload your pictures in our Facebook group.
Love to see all your work
Have a nice day

donderdag 20 december 2018

Sterren als decoratie

Hallo allemaal,

Vandaag heb ik een kerstdecoratie gemaakt met de MDF sterren van Pronty Crafts by Raffzz (460.400.180). - Hello everybody, Today I've made a christmas decoration with the MDF Stars from the Pronty Crafts by Raffz collection (460.400.180).

Als eerste heb ik de basis aangebracht en de sterren bewerkt met witte gesso. - At first I applied the base and painted the stars with white gesso. 

Daarna heb ik structuurpasta door een stencil aangebracht bij twee van de sterren. Ik heb hiervoor het mask stencil with stars (470.802.074) gebruikt. - After that I've applied modeling paste through a stencil at two of the stars. I've used the mask stencil with stars (470.802.074) for this. 

Vervolgens heb ik alle sterren bewerkt met Eis Effect pasta. - Then I've applied Ice effect paste on all of the stars. 

Met een aantal embellishments; sneeuwvlokken en belletjes heb ik de sterren daarna versierd. - I've used some embellishments; snowflakes and bells to decoratie the stars. 

Als laatste heb ik alle sterren met linten aan een met kerstgroen gedecoreerde kleerhanger opgehangen. - At last I've hung all the stars with ribbon on a clothes hanger that I've decorated with some christmas greens.


Ik hoop dat ik jullie weer heb mogen inspireren, en ik wil iedereen alvast hele fijne feestdagen wensen !

Met vriendelijke groet, - I hope I have been able to give you some inspiration again, and I want to wish you all a very happy holiday ! With kind regards,


zondag 2 december 2018

Kerststerren


Hallo allemaal, 
Hello everybody
Wat een verwennerij om een pakketje te krijgen met allemaal nieuwe spulletjes. Maar hoe moeilijk is het om te kiezen waar je mee gaat beginnen.
Ik heb gekozen voor de MDF-sterren. Deze zitten met zijn drieën in een pakket met een frame erbij.
Ik heb ze alle drie anders bewerkt zodat je kunt zien hoe veelzijdig de sterren zijn.

What a treat to get a package with all new stuff. But how difficult is it to choose where you are going to start.
I chose the MDF stars. These are all three in a package with a frame.
I have edited all three differently so that you can see how versatile the stars are.


Wat heb ik allemaal gebruikt:
460.400.180 MDF sterren van Pronty Crafts by Raffzz
470.802.074 Maskstencil met sterren
Zwarte gesso
Witte gesso
Oud boek
Extra Heavy gel medium
Distress paint in de kleuren..
Goud en bronzen wax
Goudkleurige pen
versamark 
embossingpoeder
heattool


En spulletjes om de sterren aan te kleden zoals stansjes houten ornamentjes, kleine piepschuim balletjes, sneeuwpasta, etc

What have I used:
460,400,180 MDF stars from Pronty Crafts by Raffzz
470.802.074 Mask stencil with stars
Black gesso
White gesso
Old book
Extra Heavy gel medium
Distress paint in the colors ..
Gold and bronze wax
Gold-colored pen
versamark
embossingpowder
heat tool
And stuff to dress the stars like  wooden ornaments, small polystyrene balls, snow paste, etc


Eerst heb ik de basis aangebracht.
Eén ster heb ik bewerkt met zwarte gesso . Het frame heb ik eerst bewerkt met het stencil 470.802.074 en structuurpasta en toen deze droog was heb ik deze  geverfd met zwarte gesso

First I applied the base.
I have edited one star with black gesso. I first edited the frame with the stencil 470.802.074 and structure paste and when it was dry I painted it with black gesso


Met een gouden stift heb ik het menu midden op de ster geschreven. Daarna heb ik het frame erop geplakt.
Voor de zwarte ster heb ik pasta en een plastic lepel en vork ook in de zwarte gesso gezet. Deze op ik willekeurig op het frame geplakt.
Met wax heb ik hier en daar accenten aangebracht en op het laatst een mooie gouden strik.
Zo creëer je een leuk, origineel menukaartje voor op de kersttafel.

With a golden marker I wrote the menu in the middle of the star. Then I stuck the frame on it.
For the black star I also put pasta and a plastic spoon and fork in the black gesso. These are stuck on the frame at random.
With wax I have here and there accented and at last a beautiful golden bow.
This way you create a nice original menu for the Christmas table.


Twee sterren heb ik bewerkt met witte gesso. Uit een uit boek heb ik stroken gescheurd en deze op de sterren geplakt het gel medium
Nadat deze helemaal droog was heb ik ze bewerkt met distress paint, de kleur antique linen. De kleuren weathered wood, vintage photo en walnut stain heb ik als tweede laag aangebracht en deze verdund met water zodat de kleuren mooi in elkaar overlopen.

I have edited two stars with white gesso. From a book I broke strips and stuck them on the stars the gel medium
After it was completely dry, I worked it with distress paint, the color antique linen. I applied the colors weathered wood, vintage photo and walnut stain as a second layer and diluted it with water so that the colors flow together nicely.


Op één ster heb ik, op een derde , samengebonden takjes opgeplakt met eronder verbandgaas.
De bomen en het hertje heb ik uitgestanst en bewerkt met witte embossing poeder van Ranger.
Ik heb nog een houten kerkje en sterretjes er opgeplakt Als afwerking heb ik hele kleine piepschuimballetjes aangebracht.
Dit idee heb ik uit een engels tijdschrift gehaald en mijn eigen touch eraan gegeven.

On one star I have, on a third, bonded twigs with gauze underneath.
I punched out the trees and the deer and processed them with white embossing powder from Ranger.
I still have a wooden church and stars stuck on it. As a finishing touch I applied very small polystyrene foam balls.
I took this idea from an English magazine and gave it my own touch.


De andere ster heb ik wat eenvoudiger gehouden. Ik heb mooie kerststerren, poinsettia,  uitgestanst en wat takjes. Deze heb ik bewerkt met distressinkt Antique linen. Ook de tekst heb ik uitgestanst en bewerkt. Dit heb ik op de bewerkte MDF ster geplakt.

The other star I kept some simpler. I have beautiful Christmas stars, poinsettias, punched out and some branches. I have edited these with distress ink Antique linen. I also punched out and edited the text. I stuck this on the edited MDF star.

Op het laatst heb ik een mooi organza lint erdoor geregen zodat het een hanger wordt. Deze kun je leuk als “kerstkaart” geven met de feestdagen.

In the end I put a nice organza ribbon through it so that it became a pendant. You can give this as a "Christmas card" with the holidays.


Ik hoop dat ik jullie weer wat inspiratie heb kunnen geven.  
Tot een volgende keer.

I hope that I have been able to give you some inspiration again.
See you next time.


vrijdag 2 november 2018

Storm

Hallo allemaal,
Op het moment dat ik dit blog voor jullie schrijf,
is het buiten echt van dat lekkere gure herfstweer.
Ik heb me daar ook door laten inspireren met het projectje wat ik voor jullie heb gemaakt.
 
 
Hello all, The moment I write this blog for you, is it really outside of that nice and bitter autumn weather. I also let myself be inspired by the project that I made for you.
 
Ik heb het volgende gebruikt:
Stencil van Pronty 470.803.036
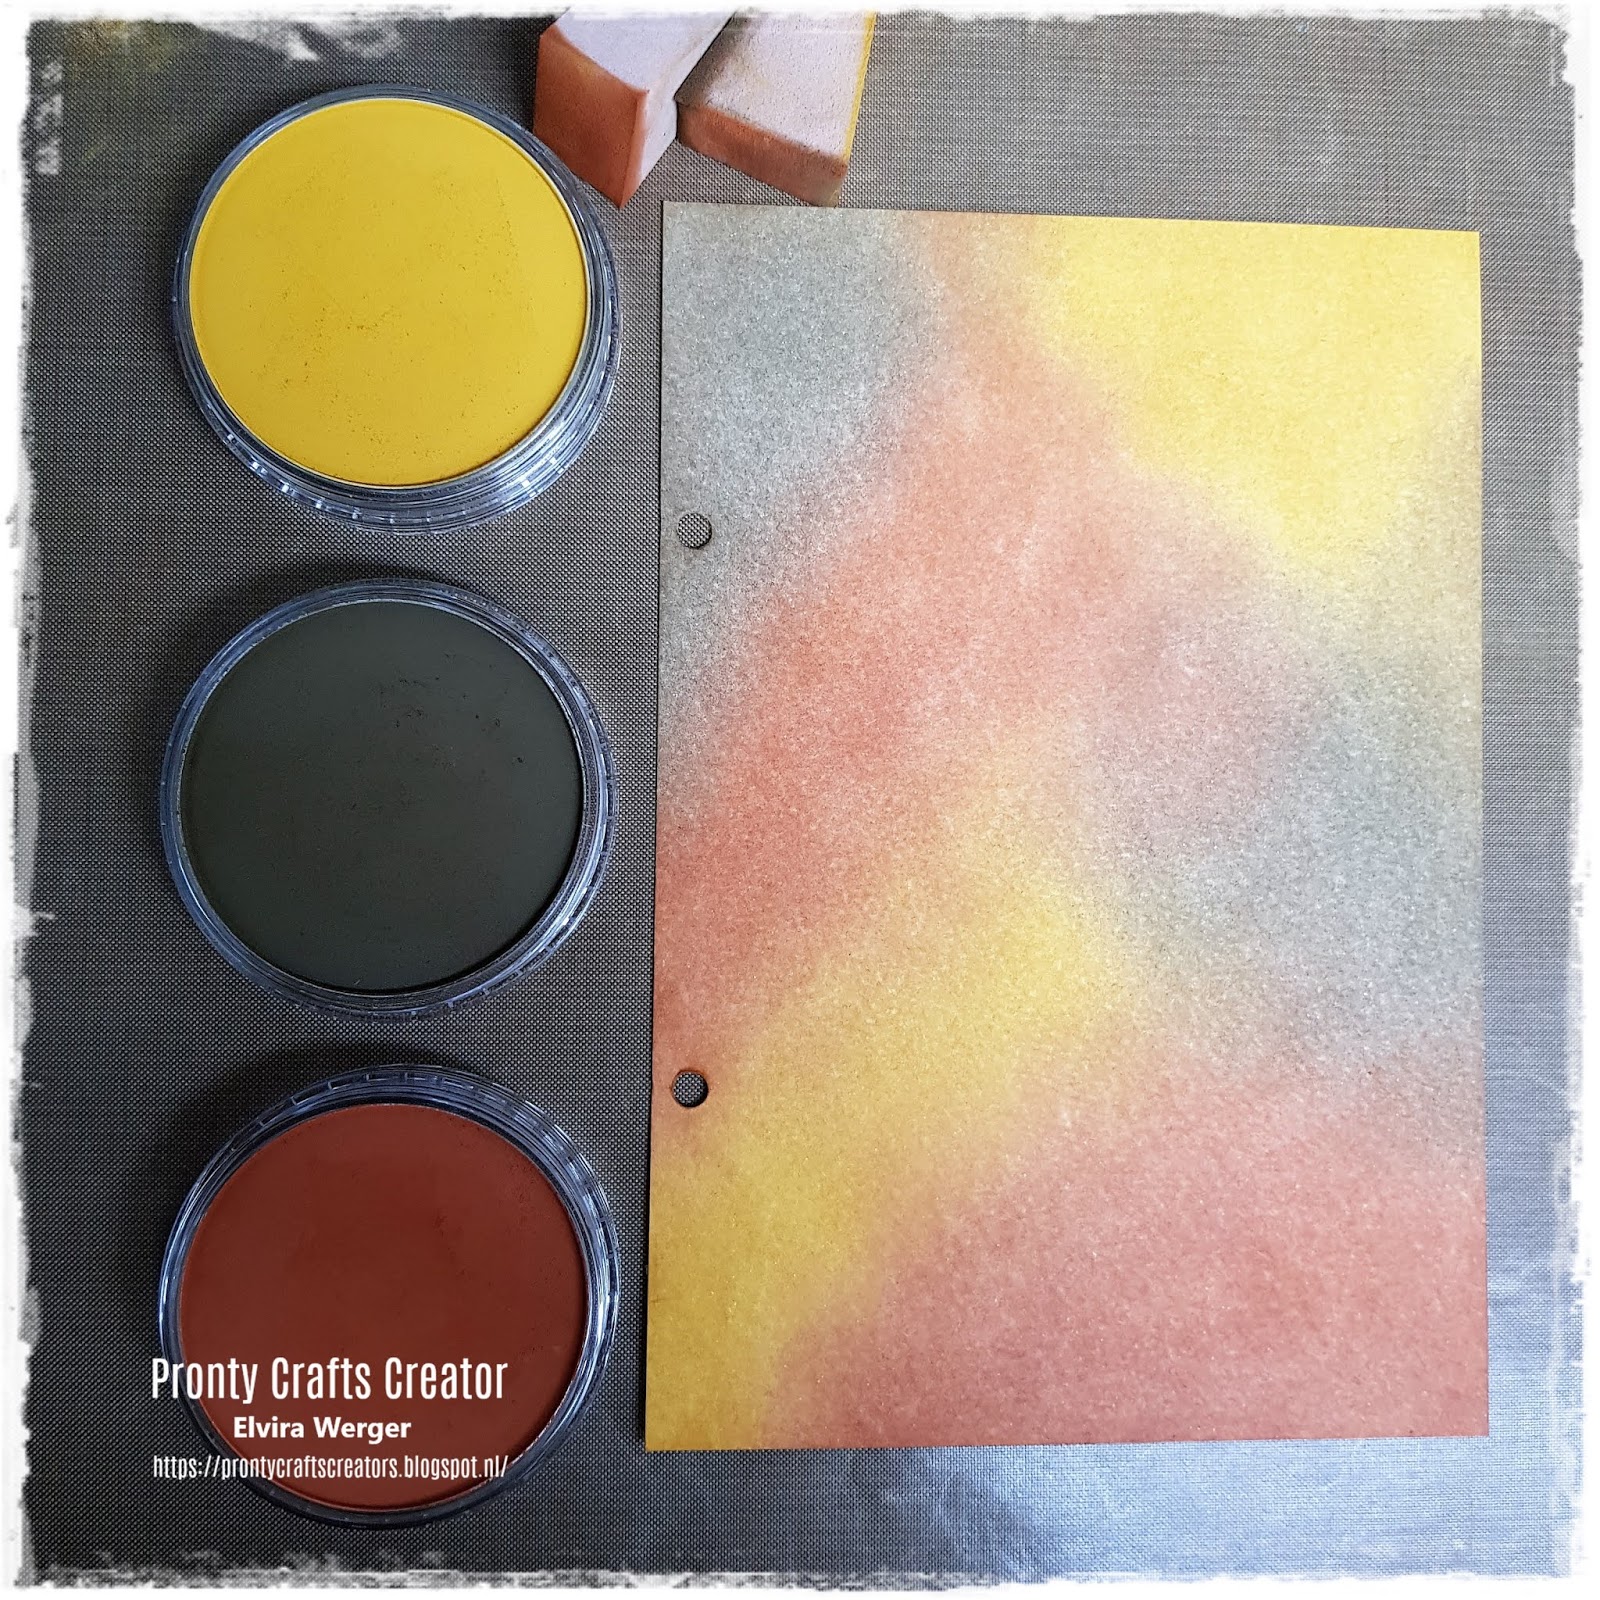
PanPastel; Raw Umber, Burnt Sienna, Yellow Ochre
Versamark
Gesso
Gelattos; caramel, Curcuma, Hazelnut, Iced Coffee
zwarte aquarelpotlood van Stabilo 
 
I have used the following: Stencil of Pronty 470.803.036 PanPastel; Raw Umber, Burnt Sienna, Yellow Ocher Versamark Gesso Gelattos; caramel, Curcuma, Hazelnut, Iced Coffee black watercolor pencil from Stabilo


Als eerste heb ik met drie kleuren PanPastel de basis opgezet.
Na elke laag PanPastel wat ik aanbreng, fixeer ik het papier met een fixeerspray.
 
First I have set up the basis with three colors PanPastel. After each layer of PanPastel I apply, I fix the paper with a fixer spray.
 
 
Onderstaande stencil heb ik gebruikt.
Kijk hoe makkelijk het is om de rondjes eruit te halen.
Verschillende motieven op een stencil, hoe leuk èn makkelijk is dat.
Ik schrijf ook altijd het nummer van de stencil op de stencil zelf,
super handig om de goede stencil terug te vinden. 
 
I used the stencil below. See how easy it is to take the circles out. Different motifs on a stencil, how nice and easy that is. I always write the number of the stencil on the stencil itself, super handy to find the good stencil.


 Een van de stukjes uit het stencil heb ik gebruikt om structuur op mijn project te zetten.
Je kunt met zo'n los stukje lekker over makkelijk bij.
 
I used one of the pieces from the stencil to put structure on my project. You can easily access it with such a loose piece.


Met versamark bewerk ik weer een ander stukje van de stencil op mijn achtergrond. Daar ga ik dan weer overheen met Panpastel. Zo krijg je een wat donkerdere afdruk.
 
With versamark I edit another piece of the stencil on my background. I'll go over there again with Panpastel. This way you get a somewhat darker print.
 
 
Ik stempel onderin een man met een paraplu. Deze stempel ik ook op een los papiertje .
Deze mask leg ik over mijn stempel heen en ik stempel meerdere keren de regendruppels.  
 
I stamp a man with an umbrella at the bottom. I also stamp this on a loose piece of paper. I put this mask over my stamp and I stamp the raindrops several times.
 
 
De dichte rondjes haal ik ook uit de stencil en teken ik willekeurig op mijn werk.
 
I also remove the closed circles from the stencil and draw them randomly at my work.
 
 
Eerst bewerk ik de rondjes met witte Gesso. Daarna breng ik laag voor laag verschillende kleuren gelatos op waarbij de laag steeds kleiner wordt.
 
First I edit the circles with white Gesso. Then I apply different colors of gelatos layer by layer, with the layer becoming smaller and smaller.


Als laatste zet ik rond de rondjes een zwarte lijn met een aquarelpotlood van Stabilo die ik daarna uitdoezel.
 
Finally, I put a black line around the circles with a watercolor pencil from Stabilo, which I then put out.
 
 
Daarna een leuke quote opgezocht en deze ook met PanPastel bewerkt en opgeplakt.
 
Then looked up a nice quote and also edited and pasted it with PanPastel.


Ik hoop dat ik jullie weer heb kunnen inspireren en graag tot een volgende keer
Een hele fijne dag gewenst.
 
I hope that I have been able to inspire you again and I hope to see you soon. Have a nice day.


zaterdag 27 oktober 2018

vogeltjes kaart

 
Hallo Iedereen, Vandaag ga ik aan de slag met mijn bigshot en mijn favoriete stencil (ik val in herhaling, ik weet het :-) ) . De Spirograph 1 stencil (470.803.049) Hier heb ik deze leuke kaart mee gemaakt   Hello everybody, today I will be working with my bigshot and my favorite stencil (I've told this before, I know :-) ) The Spirograph stencil (470.803.049) I've made this fun card with it.
 
 
We gaan eraan beginnen.
Eerst moet je even uitzoeken hoe je de stencil wilt, 
ik heb hem even vastgeplakt met een stukje tape.
Dan ben ik gaan kijken op mijn bigshot, hoe ik ermee kan embossen.
Basisplaat op tab 1, bovenop een clear cutting plaat, 
vervolgens heb ik de embossing mat, en dan het papier met de stencil op, 
en als laatste heb ik de impressions plaat gebruikt, 
en zo door mijn bigshot gehaald.  
Is even worstelen, maar als het gelukt is en je haalt je papier eruit, 
krijg je net hetzelfde effect als je een embossing folder zou gebruiken. 
 Ik vind het een enorm gave techniek, 
en kun je weer veel meer doen met je stencils
 
 
Let's get started
First, you have to think where you want your stencil to go on the paper, 
I've taped it down with a small piece of tape
Then I looked on my tabs of my bigshot, how I can emboss a stencil
Base plate 1, a clear cutting plate on top,
next the embossing mat, the paper and the stencil on top
and finally I've added the impressions plate.
Crank it through your bigshot, and when you're finished, 
you should get the same result as when you emboss with an embossingfolder
I find it a really great technique,
and you can create more with your stencils
 
Ik heb de stencil op zijn plaats gehouden met een stukje tape, 
zo ben ik begonnen met kleur erop te sponzen.  
Ik ben begonnen met een gele kleur die overgaat in een oranje, 
en vervolgens in een rode kleur.
 
 
I've held the stencil in place with a piece of masking tape,
i've started blending on some color, first a yellow, 
next an orange and finally a red color


Als je de stencil weghaalt, krijg je vervolgens een verhoogd patroon van de stencil, kei leuk
 
 
If you remove the stencil, you get a raised image from the stencil, isn't it fun
 
 
Ik heb waterspetters toegevoegd en deze aan de lucht laten drogen.
Toen de kaart droog was, vond ik het witte gedeelte te fel afsteken tegen de rest, dus heb ik die zachtjes gesponsd met een gele kleur
 
I've added water splatters, and let it air dry.
When the card was dry, I found the white areas to bright against the rest of the card,
so I've sponged again lightly with the yellow color


Ook heb ik een stikrandje rond de kaart gedaan, geeft altijd een leuk effect.
Ik vond de vogeltjes stempel heel toepasselijk en leuk
 
I've also added a stitch around the card, always a cute effect.
I thought the birds were appropiate and fun for the card
 
Een kaartbasis eronder, en de kaart is klaar om verzonden te worden.
 
I've added a card base, and the card is ready to be sent
 
 
Dat was mijn blogpost weer voor de maand oktober.
Hopelijk vinden jullie het een toffe techniek, en gaan jullie deze nu massaal uitproberen.
Laat zeker je creaties zien in onze Facebook groep, ben er echt benieuwd naar
 
Fijne dag
 
This was my October blogpost.
Hope you like the technique I've showed you, and you can try it out yourselves.
Please do show us your creations in the Facebook Group.  
Can't wait to see what you've created
Have a nice day