Pagina's

dinsdag 30 januari 2018

May your new year be filled with love


Hallo iedereen

Hello everyone, 
vandaag heb ik een kaart met een mooi stencil voor jullie gemaakt
pattern Triangles 470.803.043 by Pronty Crafts 

today I have made a card with a great stencil for you.
 pattern Triangles 470.803.043 by Pronty Crafts 

De achtergrond is gemaakt met Distress Inkt in heldere kleuren 

The background was made with Distress Inks in bright colors. 

Plak een stuk aquarelpapier  met daarop het stencil vast op je werkvlak, 
gebruik tape die niet zo sterk is.

Glue a piece of watercolor paper with the stencil on it, on your work surface. 
Use low sticky tape. 


Breng met een blendingtool de kleurtjes Distress inkt aan. 
Haal het stencil van het papier en bestrooi de nog natte inkt met clear embossingpoeder. Schud het overtollige poeder af. Verhit de kaart met een embossingtool, tot alle poeder gesmolten is en de vlakjes er glanzend uitzien.   

Apply the colors Distress ink with a blending tool. 
Remove the stencil and sprinkle clear embossing powder in the ink that is still wet.
Heat it it with a heat tool until all is shiny


Neem een snijmal van een tag en snijd hiermee een tag uit de gemaakte kaart. 
Plak de kaart op een iets grotere zwarte kaart. Plaats de  tag met foamtape terug op zijn plek, versier de kaart zoals te zien is op het voorbeeld.

Take a  cutting die, cut out a tag. Glue the top card on a ,slighty larger, black card.  Place the cut out with foam tape on its place. Decorate the card 


 Ik hoop dat je de kaart mooi vindt, tot een volgende post.

I hope you like the card. See you soon.

Hugs


zaterdag 27 januari 2018

Journal page met gelli plate


Hallo allemaal,

Fijn dat jullie er weer zijn. Vandaag heb ik 2 pagina's gemaakt om in mijn art journal te kleven.
Waarom 2 hoor ik jullie vragen? Omdat je telkens teveel verf op je gelli plate hebt en ik dit niet wil weggooien.
Hier laat ik stap voor stap zien hoe ik dit heb gemaakt.


Hi everybody,

Nice that I see you again on our blog.
Today I've mad two pages for my art journal.
Why two pages? Because every time I work with the gelli plate, I have to match paint, so I have enough paint for to pages.
I let you see how I made them.


De eerste stap is met verschillende kleuren acrylverf en gelliplate de ondergrond van je kaart maken.


First step is make the background with gelli plate en different colors acrylpaint.


Dit is het resultaat


This is the result.


De volgende stap is met rode en witte acrylverf de stencil, SQUARE SWIRL 470.801.044 aanbrengen.


I applied red en white acrylpaint to bring the stencil on the paper.


Met zwarte acrylverf bracht ik wat details aan de kanten van de kaart aan.


With black paint, I've took little details arround the card.


Voor extra detail bracht ik met distress inkt en tool de stencil HONEYCOMB 470.801.016 aan.
Je neemt met de tool waar een kussentje opzit, een beetje distress verf op en draait in rondjes over het stukje stencil dat je wil overbrengen op je kaart.


For an extra detail, I've used distress inkt with a tool. How I do it? Take with the tool a little ink and go in circles over the stencil, till you see it on youre card.


Ik gebruikte een zwarte en een witte marker om details toe te voegen.


I' ve use a black and white paint marker to bring details on my pages.


Als laatste heb ik met verschillende stempels de kaart afgewerkt.
Nog een tekst erbij gezocht en opgekleefd.


To finish my card, I used different stamps en a text.


Om de kaart extra te laten uitkomen heb ik deze op zwarte cardstock gemat.


For the good look af the card, I put them on black cardstock.


Fijn dat je kwam kijken, Bedankt!

Groetjes,


Thanks for visiting!

Kind regards,


donderdag 18 januari 2018

Drieluik kaart/Triptych card

Hallo en welkom,
 -
Hello and welcome, 
-
Vandaag laat ik jullie zien hoe je een drieluik kaart maakt waarbij je een stencil op verschillende manieren gebruikt. Hiervoor gebruikte ik "Woman with hat", 470.802.069.
-
Today I want to show you how to make a triptych by using just one stencil in different ways. I used "Woman with hat",  470.802.069
-

 Snij uit aquarelpapier drie stukken van 7 x 14,8 cm, bestrijk één ervan met zwarte gesso. Behandel alle stukken met distress oxides. Ik gebruikte eerst blauw, daarna paars en daarna weer blauw. Op het internet kun je uitgebreide instructies vinden om met distress oxides mooie achtergronden te maken zoals deze.
-
From watercolour paper cut three pieces of 7 x 14,8 cm, cover one with black gesso. Apply distress oxides to all pieces. I used blue, purple, then blue again. On the internet there are plenty of instructions of how to make this kind of backgrounds.


 Neem op maskerpapier de holtes onder de armen over en knip ze uit. Leg de dame op het (voorheen) zwarte papier, plak het maskerpapier er in, en leg het buitenste deel van het stencil er netjes op. Je kunt het papier en het stencil voorzichtig vast plakken met maskerpapier, zodat het geheel niet verschuift. Nu haal je de dame weg en spons je met zwarte gesso. Pas op dat je maskerpapier niet verschuift.

Op het (voorheen) witte stuk leg je de dame, zodanig dat ze de andere kant op staat, en spons je met de zwarte gesso voorzichtig een rand om de dame heen.
-
Trace the parts under both arms onto masking paper and cut out. Place the lady on the (former) black piece, place the masking paper and place the outer stencil on top. You can use masking tape to secure the paper and the stencil onto your work surface. Carefully remove the lady and sponge with black gesso.

Place the lady on the (former) white piece, so that she is looking the other way, and carefully sponge a black outline around her.


Links het voorheen witte papaier, rechts het zwarte.
-
On the left the former white piece, on the right the black piece.


 Gebruik een zwarte en een witte paint marker om kleine details toe te voegen. Ik tekende stipjes, hash tags en een rand. Ook omlijnde ik de zwarte dame. Met de oxides voeg je wat kleur toe op de zwarte dame, door door het stencil te sponsen.
-
Use a black and a white paint marker to add little details. I drew dots, hash tags and a border. I also traced around the black lady. With the oxides you can add some colour to the black lady, by sponging through the stencil.


 Neem een zwarte A5 card en ril op 7 en 14 cm. Nu heb je drie panelen. Op het middelste paneel spons je met de oxides hier en daar door het stencil.
-
Take a black piece of A5 card and score at 7 and 14 cm. No you have a three panel card. Sponge through the stencil with the oxides onto the middle panel.


 Op het derde stuk aquarelpapier stempel (en emboss) je een tekst dat je nadien in stukken knipt en op het middelste paneel plakt. De dames komen op de buitenste panelen.
-
On the third piece of watercolour paper stamp (and emboss) a sentiment in black, cut it into strips and adhere to the middle panel. Adhere your ladies to the outer panels.


Zie hier het eindresultaat.
Fijn dat je hier kwam kijken, dat vinden we erg leuk!
Groetjes, 
-
This is the end result.
Thanks for visiting!
Kind regards, 


dinsdag 16 januari 2018

A notepad

Hallo bloglezers,

Hello blogreaders,

De standaard notitieblokken zijn vaak erg saai… Dit is echter snel op te lossen met een paar mooie Pronty Crafts stencils !
-
The average notepads are often very boring… You can easily fix this with a few nice Pronty Crafts stencils !


Ik zal jullie laten zien hoe ik deze twee notitieblokken gemaakt heb.
-
I will show you how I’ve made these two notepads.


Als eerste lijm je een stuk boekpapier over de voorkant van het notitieblok.
-
At first you will glue a piece of bookpaper over the front of the notepad.


Daarna bedek je dit met witte gesso.
-
After that you’ll cover it with white gesso.


Als laatste ga je met stencils aan de slag met zwarte verf en een make-up sponsje. Ik heb de volgende Pronty Crafts stencils gebruikt: Silhouette Curly woman 470.801.047, Silhouette girl with bun 470.801.048 en van de layered set Palmtree 470.850.000 heb ik het stencil met de teksten gebruikt.
-
At last you will use stencils with black paint and a make-up sponge. I’ve used the following Pronty Crafts stencils: Silhouette Curly woman 470.801.047, Silhouette girl with bun 470.801.048 and from the layered set Palmtree 470.850.000 I’ve used the stencil with the texts.


Ik hoop dat ik jullie heb kunnen inspireren om ook aan de slag te gaan met de mooie Pronty Crafts stencils !


Met vriendelijke groeten,

-
I hope I have inspired you to go work with the beautiful Pronty Crafts stencils too! 


With kind regards, 


zondag 14 januari 2018

Toolbox and Birthday Candy

Hallo allemaal,

Hello everyone,

Vandaag heb ik de mooie MDF toolbox 2 460.423.730 bewerkt met gesso, acrylverf en structuurpasta.

-

Today I've worked with the beautiful MDF toolbox 2 460.423.730 with gesso, acrylic paint and texture paste.


Dit is het eindresultaat, bij de volgende foto's staat stap voor stap beschreven hoe ik tot het eindresultaat ben gekomen.


This is the end result, the following photo's shows how I got to the end result.

                             
Als eerste heb ik alle onderdelen in de witte gesso gezet.

First I applied white gesso on all the parts of the toolbox.


Daarna heb ik alle onderdelen in de acrylverf gezet en alles licht opgeschuurd.


After that I applied acrylic paint on all the parts and sanded them.


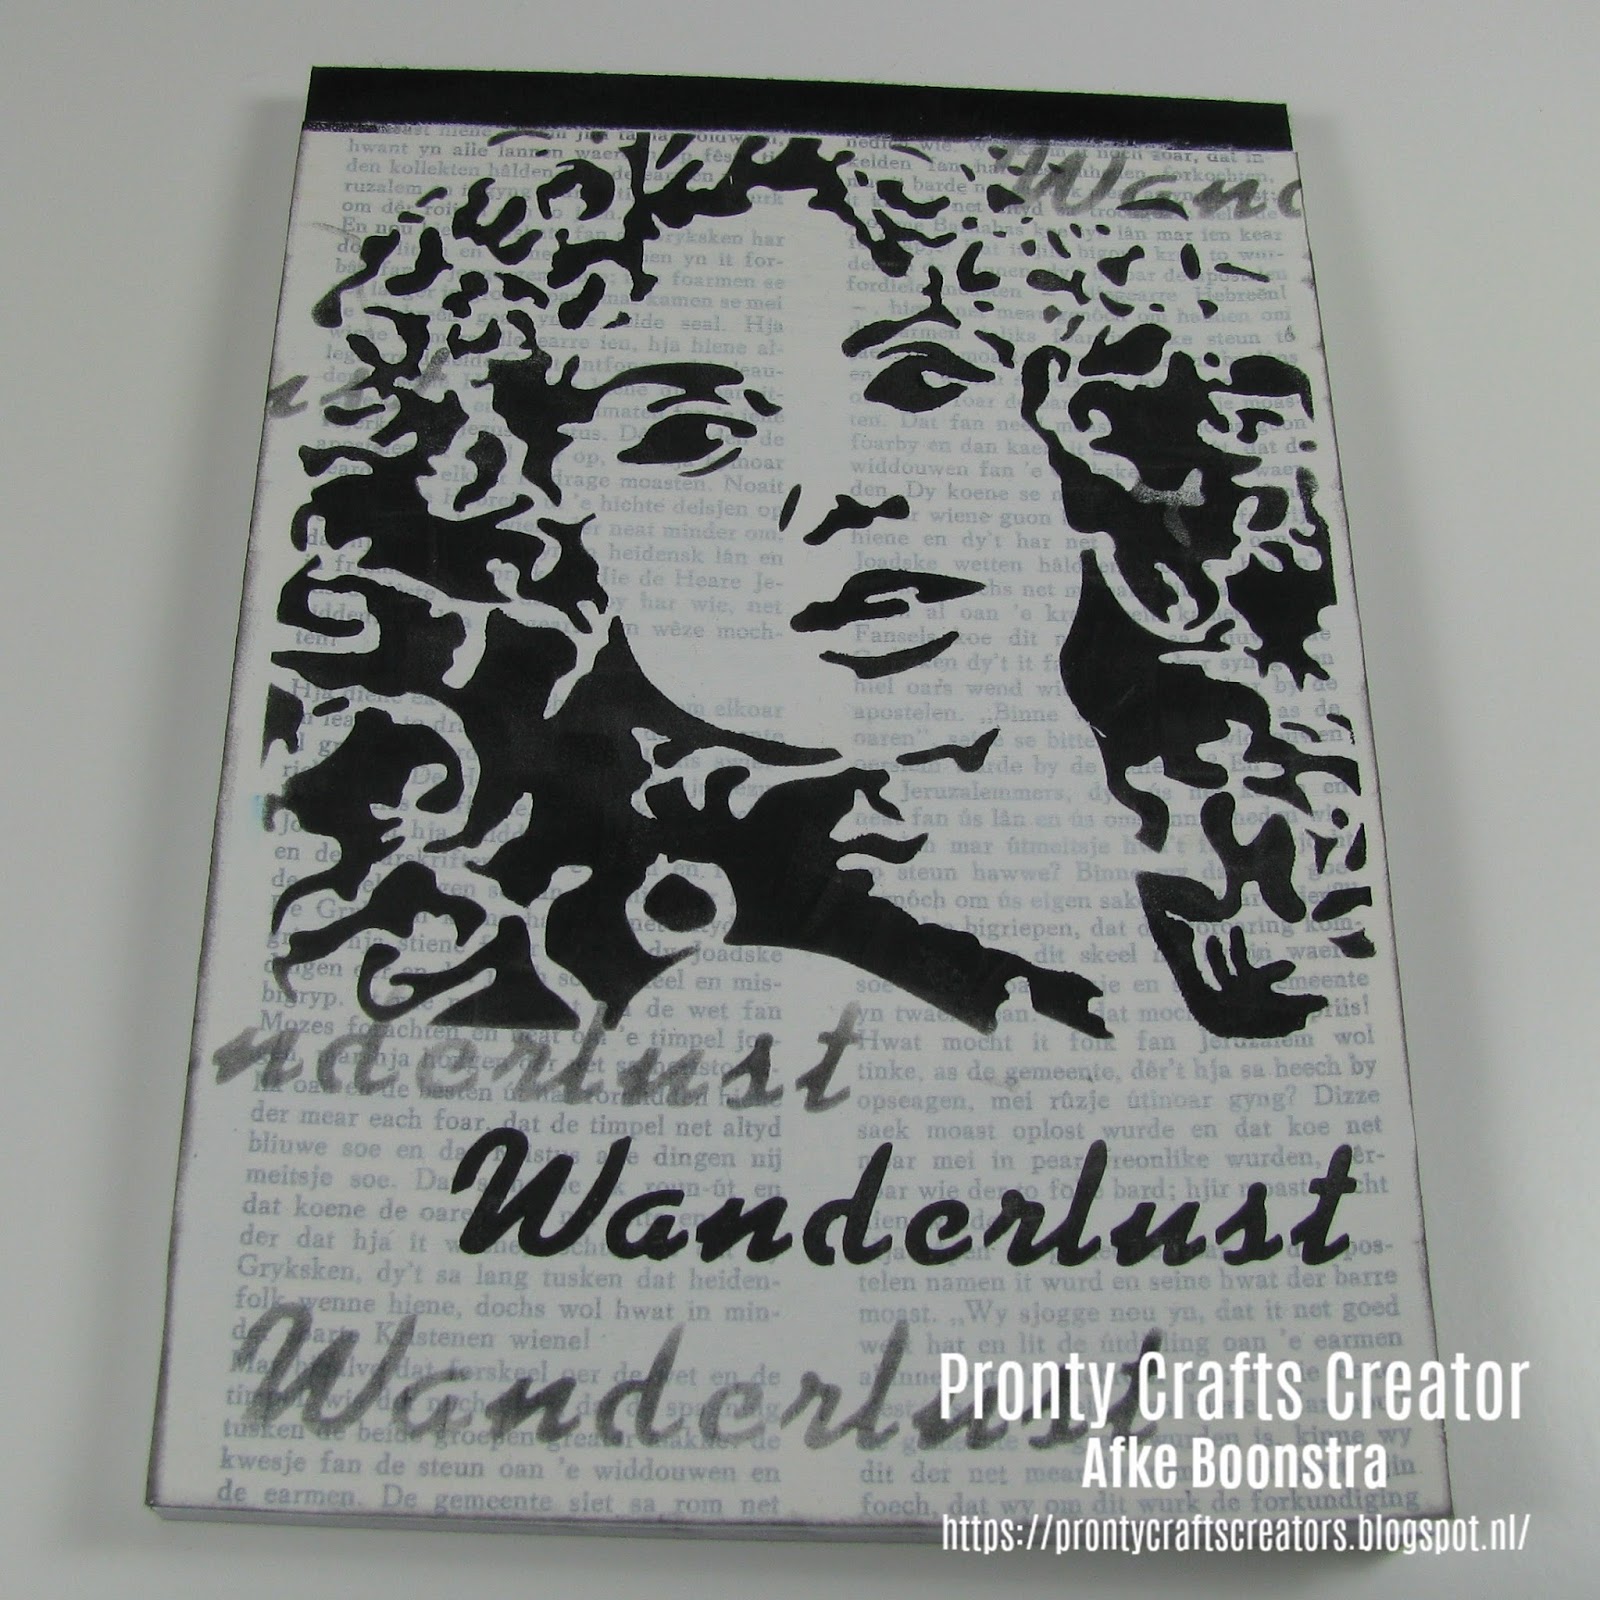
Met een stencil en structuurpasta heb ik deze motieven op een deel van de onderdelen aangebracht. De structuurpasta die ik gebruikt heb, is transparant.


With a stencil and texture paste I applied these patterns on some of the parts. The texture paste that I used is transparent.


De andere onderdelen heb ik bewerkt met een ander stencil en acrylverf. Ik heb dit met een sponsje aangebracht. Door de tweede cirkel op de goeie plek te krijgen heb ik de eerste cirkel op de inmiddels gedroogde verf geplaatst, zodat ik niet de motieven door elkaar krijg.


On the other parts I used a different stencil and acrylic paint, I applied the paint with a sponge. While I used the second circle, I put the first circle on the paint that already had dried, so the patterns wouldn't blend together.


Inmiddels is de structuur pasta ook gedroogd en heb ik Distress Ink in de kleur fossilized amber hier en daar aangebracht.

After the texture paste had dried, I applied Distress Ink in the colour fossilized amber on some parts.


Alle verf is inmiddels ook gedroogd en de toolbox is in elkaar gezet.

All the paint dried and I have put the toolbox together.


Ik had al Distress Ink aangebracht, om te zorgen dat dit blijft zitten doe ik er een laagje Collage Vintage Medium over heen. Om de kleur nog wat intenser de maken heb ik de Collage Vintage Medium gebruikt.

I'd already applied the Distress Ink, but to make sure it stays on, I put Collage Medium over it. To make the colour more intense I used Vintage Medium. 


Ik heb de hele toolbox van een laagje Collage Vintage medium voorzien en de op de bovenste randjes turquoise blauw verf aangebracht.

I applied some Collage Vintage Medium all over the toolbox and painted the top edges turquoise.


Ik kon het niet laten om nog wat spetters aan te brengen, dit heb ik met dezelfde blauwe kleur gedaan.

With the same blue paint I apllied some spatters.


Deze cirkels heb ik uit stevig aquarel papier gestanst en bewerkt met twee kleuren Distress Ink. Eerst blauw en daarna de roest kleur. Op de rechter zie je dan hoe de kleuren mooi overlopen en je eigenlijk drie kleuren creëert.

I punched these circles out of sturdy watercolour paper and applied two colours of Distress Ink. First I apllied blue and after that the rusty colour. On the right one, the colours blended together and created a third colour.


Ik heb de met inkt bewerkte delen door de clear embossing poeder gehaald en daarna verhit met de heattool zodat de embossing poeder smelt. Rechts is voor het verhitten en dan is links het resultaat.

I applied clear embossing powder on the circles and heated it with the heattool, so the powder melted. The right one is before heat and the left one is the result.


Dit is het eind resultaat.

This is the end result.


Dit zijn de twee stencils die ik voor deze toolbox heb gebruikt, A4 Tryptich 470.803.046 en A4 Gel Lines 470.803.036.

Ik hoop dat ik jullie heb kunnen inspireren met deze tutorial.

Omdat ik 24 januari jarig ben mag ik namens Pronty een Candy weg geven. Je doet mee door hier een reactie achter te laten, de winnaar wordt 25 januari bekend gemaakt. De Candy bestaat het mdf pakket wat ik hier heb gebruikt en ook nog de twee stencils die ik hierbij heb gebruikt.

Hartelijke groeten,

-

These are the stencils I've used, A4 Tryptich 470.803.046 and A4 Gel Lines 470.803.036.

Hopefully I've been able to inspire you with this tutorial.

Because it's my birthday on January 24th, I get to give away a Candy. You can enter by leaving a comment down below, the winner will be anounced on January 25th. The candy you can win consists of the MDF kit and the two stencils that I used today.

Kind regards,