Pagina's

Posts tonen met het label mask. Alle posts tonen

zaterdag 2 februari 2019

Stars

Hallo allemaal, 
Hello and welcome

Vandaag heb ik voor jullie een kleurige bladzijde uit mijn Art Journal.
Wat heb ik er allemaal voor gebruikt;
Stencil van Pronty Crafts met sterren 470.802.074
Foamstempels  Stars van  van Pronty Crafts 3x) 494001.013
Acrylverf: rood – oranje – gee l- blauw – groen – wit -zwart
Structuurpasta van Dutch Doobadoo
palletmes
Posca verfstift wit
Zwarte stempelinkt


Today I have a colorful page from my Art Journal for you.
What have I used for it;
Stencil of Pronty Crafts with stars 470.802.074
Foam stamps Stars van from Pronty Crafts 3x) 494001.013
Acrylic paint: red - orange - yellow - blue - green - white - black
Structure paste from Dutch Doobadoo
pallet knife
Posca paint pen white
Black stamp ink


Dit is de stencils en de foamstempels.

This is the stencils and the foam stamps


Als eerste heb ik met een droge kwast de kleuren aangebracht.
Op een apart A-4tje heb ik de kwast ‘leeg’ gemaakt. Deze hebben we straks nog nodig.
Met de kleur wit heb ik wat lichte accenten aangebracht.

First I applied the colors with a dry brush.
On a separate A-4tje I made the brush 'empty'. We will need this one later.
With the color white I have applied some light accents.


Het stencil met sterren heb ik gebruikt om in de linkerbovenhoek accenten aan 
te brengen met structuurpasta gemengd met verf.
Rechtsonder heb ik alleen maar verf aangebracht met het stencil.

The stencil with stars I used to add accents in the top left corner with 
structure paste mixed with paint.
Bottom right I only applied paint with the stencil.

 
Met witte acrylverf en een paletmes heb ik streepjes aangebracht.
Vervolgens heb ik met de kleine ster van de set foamstempels hier en daar witte 
sterren op mijn bladzijde gestempeld.

I applied dashes with white acrylic paint and a palette knife.
Then I stamped white stars on my page here and there with 
the little star of the set of foam stamps.


Ik heb op karton de twee grootste sterren gestempeld en deze uitgeknipt.
Deze gebruik ik als mal. Met een zwart aquarelpotlood trek ik de omtrek van de sterren na.
Daarna stempel ik met zwarte inkt de sterren op het A -4tje waarop ik mijn penselen heb ‘droog gekwast’. Deze knip ik uit en plak ze op mijn art journal bladzijde. Met een waterkwastje maak ik de zwarte lijnen wat zachter .


 I stamped the two biggest stars on cardboard and cut them out.
I use this as a mold. I trace the circumference of the stars with a black watercolor pencil.
Then I stamp the stars on the A4 sheet with black ink on which I brushed my brushes. I cut this out and stick it on my art journal page. I make the black lines a bit softer with a waterwash.


Met verdunde zwarte en witte acrylverf en een spetterkwast maak ik spetters

Make splashes with diluted black and white acrylic paint and a splatter brush

 
Met een witte posca stift heb ik de tekst geschreven. De andere tekst heb ik op 
de pc gemaakt , uitgeprint en in stukjes opgeplakt. 

I wrote the text with a white posca marker. I have printed out the other text 
on the PC, and glued it into pieces.


Ik hoop dat ik jullie weer heb kunnen  inspireren. 
Ik wens jullie een sprankelende dag toe….

I hope that I have been able to inspire you again. 
I wish you a sparkling day ….


vrijdag 2 november 2018

Storm

Hallo allemaal,
Op het moment dat ik dit blog voor jullie schrijf,
is het buiten echt van dat lekkere gure herfstweer.
Ik heb me daar ook door laten inspireren met het projectje wat ik voor jullie heb gemaakt.
 
 
Hello all, The moment I write this blog for you, is it really outside of that nice and bitter autumn weather. I also let myself be inspired by the project that I made for you.
 
Ik heb het volgende gebruikt:
Stencil van Pronty 470.803.036
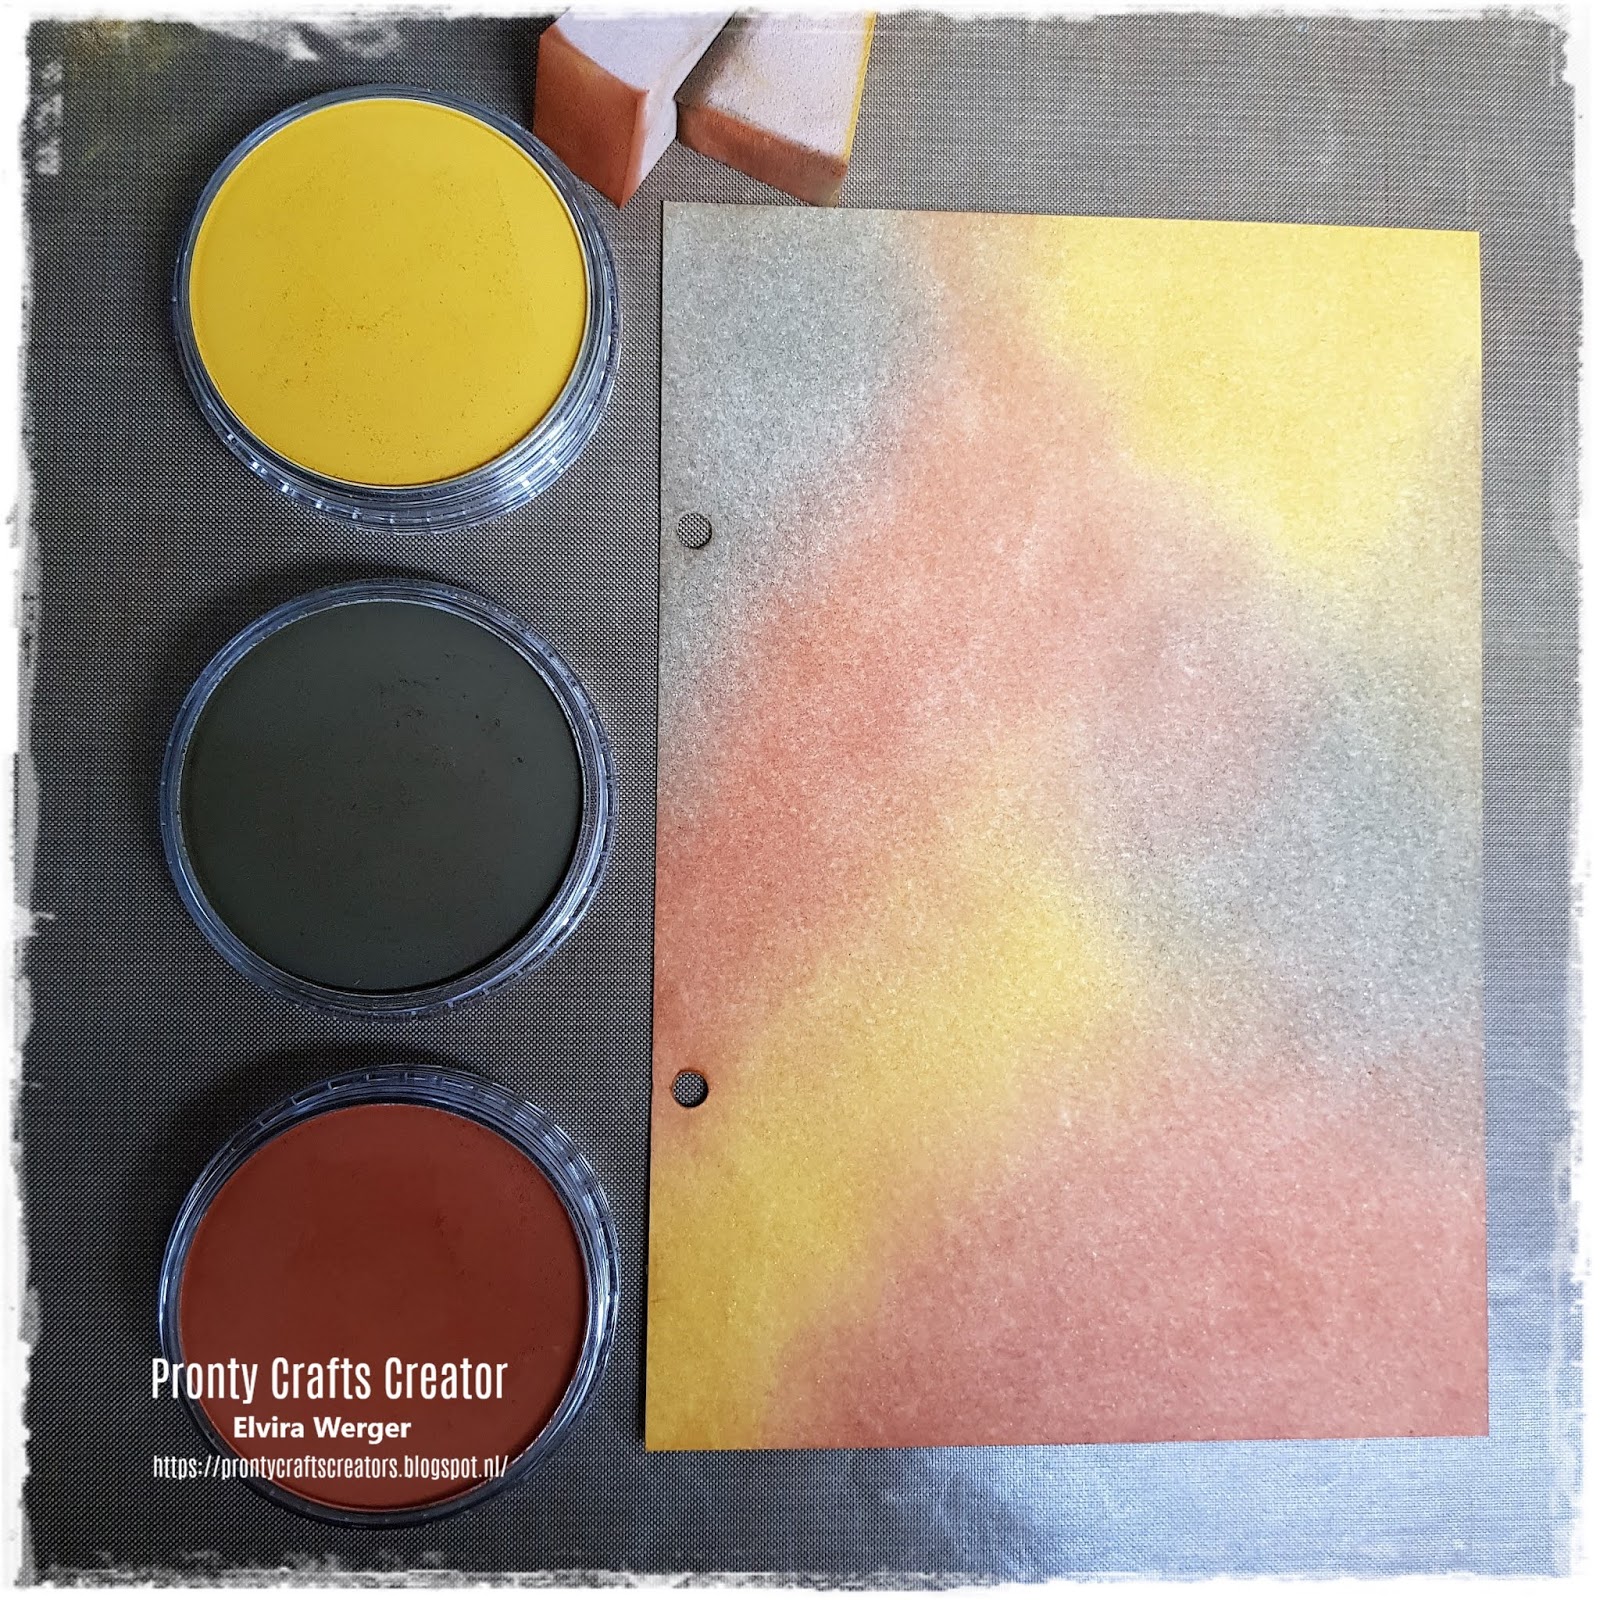
PanPastel; Raw Umber, Burnt Sienna, Yellow Ochre
Versamark
Gesso
Gelattos; caramel, Curcuma, Hazelnut, Iced Coffee
zwarte aquarelpotlood van Stabilo 
 
I have used the following: Stencil of Pronty 470.803.036 PanPastel; Raw Umber, Burnt Sienna, Yellow Ocher Versamark Gesso Gelattos; caramel, Curcuma, Hazelnut, Iced Coffee black watercolor pencil from Stabilo


Als eerste heb ik met drie kleuren PanPastel de basis opgezet.
Na elke laag PanPastel wat ik aanbreng, fixeer ik het papier met een fixeerspray.
 
First I have set up the basis with three colors PanPastel. After each layer of PanPastel I apply, I fix the paper with a fixer spray.
 
 
Onderstaande stencil heb ik gebruikt.
Kijk hoe makkelijk het is om de rondjes eruit te halen.
Verschillende motieven op een stencil, hoe leuk èn makkelijk is dat.
Ik schrijf ook altijd het nummer van de stencil op de stencil zelf,
super handig om de goede stencil terug te vinden. 
 
I used the stencil below. See how easy it is to take the circles out. Different motifs on a stencil, how nice and easy that is. I always write the number of the stencil on the stencil itself, super handy to find the good stencil.


 Een van de stukjes uit het stencil heb ik gebruikt om structuur op mijn project te zetten.
Je kunt met zo'n los stukje lekker over makkelijk bij.
 
I used one of the pieces from the stencil to put structure on my project. You can easily access it with such a loose piece.


Met versamark bewerk ik weer een ander stukje van de stencil op mijn achtergrond. Daar ga ik dan weer overheen met Panpastel. Zo krijg je een wat donkerdere afdruk.
 
With versamark I edit another piece of the stencil on my background. I'll go over there again with Panpastel. This way you get a somewhat darker print.
 
 
Ik stempel onderin een man met een paraplu. Deze stempel ik ook op een los papiertje .
Deze mask leg ik over mijn stempel heen en ik stempel meerdere keren de regendruppels.  
 
I stamp a man with an umbrella at the bottom. I also stamp this on a loose piece of paper. I put this mask over my stamp and I stamp the raindrops several times.
 
 
De dichte rondjes haal ik ook uit de stencil en teken ik willekeurig op mijn werk.
 
I also remove the closed circles from the stencil and draw them randomly at my work.
 
 
Eerst bewerk ik de rondjes met witte Gesso. Daarna breng ik laag voor laag verschillende kleuren gelatos op waarbij de laag steeds kleiner wordt.
 
First I edit the circles with white Gesso. Then I apply different colors of gelatos layer by layer, with the layer becoming smaller and smaller.


Als laatste zet ik rond de rondjes een zwarte lijn met een aquarelpotlood van Stabilo die ik daarna uitdoezel.
 
Finally, I put a black line around the circles with a watercolor pencil from Stabilo, which I then put out.
 
 
Daarna een leuke quote opgezocht en deze ook met PanPastel bewerkt en opgeplakt.
 
Then looked up a nice quote and also edited and pasted it with PanPastel.


Ik hoop dat ik jullie weer heb kunnen inspireren en graag tot een volgende keer
Een hele fijne dag gewenst.
 
I hope that I have been able to inspire you again and I hope to see you soon. Have a nice day.


zaterdag 2 juni 2018

Palmbomen en gereedschapkist


Hallo allemaal,

Hello everyone,
Dit is mijn eerste post als nieuw designteamlid van Pronty Crafts Creators.
Wat vind ik het leuk om dit gave team te versterken.
Voor mijn eerste projectje heb ik een gereedschapskist opgepimpt

This is my first post as new member of the designteam of Pronty Craft.
It's super fun to strengthen this cool team
For my first project, I pimped a toolbox from MDF


Ik heb de volgende artikelen van Pronty Crafts gebruikt. 

I have used the following articles from Pronty Crafts

460.423.730 MDF gereedschapskist/ Toolbox
470.850.000 Mask palmtree 

Ik heb eerst alles in elkaar gezet. 

First I put all the parts together.


Vervolgens heb ik het geheel in de gesso gezet.
Than I paint the toolbox with gesso


Toen dit droog was heb ik met een lichtgroene verfspray tweemaal een dunne laag aangebracht.
When the paint has dry, I have sprayed it twice with light green paintingspray


Met mod podge en decoupage papier heb ik hier en daar wat vakken beplakt.
I covered some sides with mod podge and decoupage paper.

 
De layer masks heb ik stencil voor stencil aangebracht. Ik gebruik hiervoor verschillende tinten groen.Tussendoor heb ik het goed laten drogen. Je kunt ook een heattool gebruiken om het te laten drogen. Daarna heb ik met rood de vogeltjes en bloemetjes erop geverfd

I applied stencil for stencil to the layer masks. For this I use different shades of green.
In between, let the paint dry well. You can also use the heattool.
Then I painted the birds and flowers with red.


Met een donkere groene verf heb ik de bovenrand afgewerkt.

With a dark shade of green I finished the upper edge.


Op de voorkant heb ik de tekst ‘travel’ en de vogeltjes aangebracht met groene en rode verf.
On the front I put the text 'travel' and the birds with green and red paint.


Deze gereedschapskist is superhandig voor de vakantie. Al mijn pennen voor mijn bullet journal passen hierin.
This tool box is super handy for the holidays. All my pens for my bullet journal fit into this


Bedankt dat jullie zijn langsgekomen, ik wens jullie een fijne dag! 
Thanks for visiting my blogpost and have a nice day!

Lieve groet,

with kind regards,