Pagina's

Posts tonen met het label Julia Woning. Alle posts tonen

donderdag 17 januari 2019

Lovely Ladies by Julia Woning

Beste Bloglezers, 
 vandaag laat ik je zien hoe je met de Lovely Lady stencil een prachtige art journal pagina kunt maken. Ik gebruik de stencil als mal. Hier teken ik de Lovely Lady na. Ik gebruik hiervoor een grafietpotlood.  
 Dear Blog readers,
today I show you how you can make a art journal page with the lovely lady stencil. I use the stencil as a mold. I use a graphite pencil to draw on the tag. 


 Daarna gum ik de lijnen zoveel mogelijk weg, maar nog net dat je het kunt zien. Dan ga ik de dame voorzien van kleur. Ik begin eerst met de huidskleur. Ik pak hiervoor een oker geel en een roze tint uit de set van Coloursoft. Welke dat maakt niet zo uit probeer gewoon verschillende combinaties en kies die jij mooi vindt. Daarna ga ik verder met het kleuren van de dame. 
 ~ 
 With colour pencils I give it color. I start with the skin color. I have a yellow ocher and a pink tint from the Coloursoft set. Which one you choose does not matter so just try different combinations and choose which you love. I continue with the coloring of the lady. 


 Als de dames zijn gekleurd met meerdere lagen en vele kleurcombinaties ga ik het geheel blenden met terpentine. Ik vind het fijn om dit te doen met een watte staafje. Zie hoe prachtig de kleuren samen smelten.  
 ~ 
 Colored the ladies with multiple layers and many color combinations I will blend the whole with turpentine. I like to do this with a soft stick. See how beautifully the colors melt together. 


 Dan ga ik met panpastel werken. Met een sofft tool breng ik een patroon aan met het stencil. Als ik klaar bent fixeer ik het geheel zodat de panpastel niet meer af geeft. 
 ~  
I give some extra detail with panpastel and a stencil. I fixate it with fixative. 


Bekijk de video Ik hoop dat ik je heb kunnen inspireren 
 Tot een volgende keer 
 Julia 
 ~ 
I hope I can inspire you
See you next time 
 Julia    


Stencil Lovely Lady by Julia (470.765.001)


zaterdag 17 november 2018

Mdf album by Julia Woning

Hallo Bloglezers,
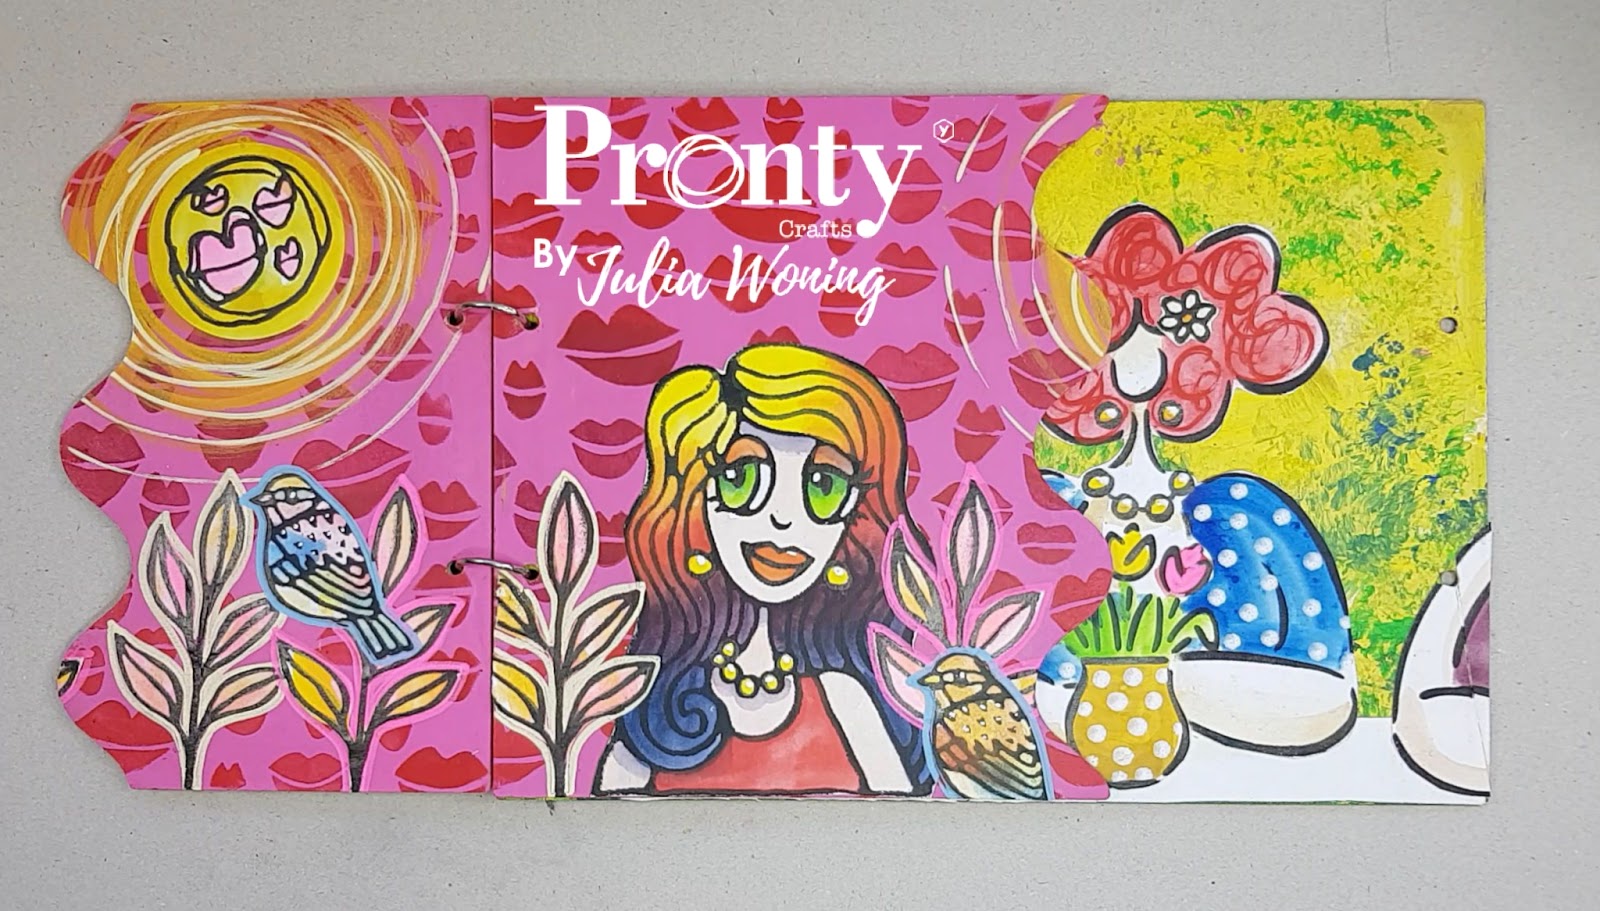
vandaag laat ik je zien hoe je mijn ontwerp van het MDF album kunt bewerken. Je kunt het natuurlijk op verschillende manieren uitwerken, maar hier is een van mijn versies. Eerst schilder ik alle losse onderdelen met acrylverf. Je kunt een onderlaag van gesso doen maar hoeft niet.Ik maak hier gebruik van de stencils Grunch cirkels en kisses.
 ~
  Hello Blog readers,
today I will show you how I work with my MDF album. You can work it out in different ways, but here is one of my versions. First I paint all the separate parts with acrylic paint. You can do a layer of gesso but you don't have to. Here I use the stencils Grunch Circles and Kisses from the Pronty Crafts by Julia Woning line.


Nadat ik de achtergrond heb geschilderd ga ik kijken welke elementen ik ga gebruiken. deze heb ik reeds eerder gemaakt door een stemple afduk te maken op papier en deze in te kleuren. ik hen altijd een grote hoeveelheid van verschillende afbeeldingen zodat ik kan kiezen. De afbeeldingen zijn Classy lady foamstempel, birds, twigs, kisses allemaal van de Pronty Crafts by Julia Woning lijn. 
~
After I have painted the background, I am going to see which elements I will use. I have a lot of elements that I already made. I make a stampprint on paper and colored them. I always have a large amount of different images so I can choose. The images are  foam stamps: Classy lady, birds, twigs, kisses and the Lovely ladies, are from stencils all from the Pronty Crafts by Julia Woning line.


Hier kan je zien dat ik het hele album hebt gebruikt zowel op de foto hier onder als in de video.
 ~
  Here you can see how the finished album looks like on photo and on video.


Maar je kunt natuurlijk ook variëren. Hier onder zie je dat ik een andere volgorde heb gemaakt van de losse elementen van het MDF album en de 2 losse A5jes hebt gebruikt voor een art journal.ik heb zelfs 2 sets MDF albums gebruikt om de grote A4+ te gebruiken als liggend art journal ;-)Ik hoop dat ik je heb geïnspireerd om vooral zelf aan de slag te gaan met dit MDF album
tot een volgende keer Julia
 ~
  But of course you can also mixed the pages of te album. In the video you can play around with the elements of the MDF album. I used the 2 separate A5 for an art journal. I even used 2 sets of MDF albums to use the large A4 + as landscape art journal covers ;-). 
I hope that I have inspired you to get started with this MDF album
till next time Julia


woensdag 17 oktober 2018

Classy Lady Stencil by Julia


Hallo bloglezers,
vandaag laat ik je zien hoe ik een artjournal pagina maakt.
Ik begin met het maken van een afdruk met mijn stencil van de Classy lady. Ik gebruik de zwarte watervaste inkt,Versafine Clair en een blending tooltje.

Hello readers,
today I will show you how I work with my stencil Classy Lady from the Pronty Crafts by Julia Woning line and the travelset from Derwent Inktense. But first I make a print with a blending tool and Versafine Clair ink.


Dan maak ik ook afdrukken met de Pronty Crafts by Julia Woning foamstempels Twigs en birds.

I also make prints with the stamps from the line Pronty Crafts by Julia Woning birds and twigs.


Als de inkt goed gedroogd is kan ik het van kleur voorzien met de Derwent Inktense Paint Pan Travel Set.

When the ink is dry you can colored it with the Derwent inktense.


Hieronder zie je het eindresultaat en natuurlijk de video waarin je ziet hoe ik het heb gedaan.

Veel kijk plezier en tot de volgende keer
Julia 


Whats the video below its with Dutch commentary but you can see how I did it ;-)

till next time, enjoy
Julia 


Used stencil from Pronty Crafts by Julia Woning:

Classy Lady by Julia Woning
470.765.003

maandag 17 september 2018

Artjournal project by Julia


Ik vind het heerlijk om in mijn artjournal te werken in deze video kun je zien hoe ik dit project heb gemaakt.

  I love to work in my art journal in this video you can see how I made this project . 


Ik heb de achtergronden met inkten en diverse stencils gemaakt. Laag overlaag net zolang totdat ik ze mooi vond. Ook heb ik opgelet dat de kleuren van de pagina's steeds contrasterend was zodat effect van kleur verschil groter is als je de pagina omslaatl.

I made the backgrounds with inks and various stencils. Layer over layer as I am ready when I liked them. The colors of the pages are always contrasting so that the effect of color difference is greater when you turn the  the page.


Naast dat ik de vogeltjes en de takjes met bladeren heb gestempeld en gekleurd. Heb ik afbeeldingen can mijn kleurboekje gecopieerde en vergroot en ingekleurd met de Derwent Inktense. Deze is na droging watervast en dat is fijn als jij je afbeelding opplakt met medium. Kleuren geven dan niet meer af ;-) Hier heb ik een afdruk gemaakt van mijn Classy Lady stencil.

Beside that I have stamped and colored the birds and the leaves. I have copied and enlarged my coloring book illustrations from my Lovely Lady Summertime book and colored it with the Derwent Inktense. When dried it is waterresistand and that is nice. If you stick your image on with medium. The colors no longer give off colors ;-) Here I have made a print of my Classy Lady stencil.


Mijn losse tags heb ik ook toegevoegd aan dit project. Nu alleen nog leuke quotes ik ben tevreden het is een mooi geheel geworden. Veel plezier bij het kijken. Tot een volgende keer 
Julia

I also added my separate tags to this project.I put some nice quotes and I am satisfied it became  a beautiful project. Have fun watching the video
Till next time
Julia


Ik heb de volgende Pronty-materialen gebruikt:

I used the following Pronty materials:

Stencil Classy Lady by Julia (470.765.003)
Stencil Boarders by Julia (470.765.002)
Foam stempel Flower + Twig by Julia (494.904.001)
Foam stempel Birds by Julia (494.904.003)


Op onze Facebook-pagina Pronty and friendskun je laten zien wat jíj hebt gemaakt met Pronty producten. We zijn erg benieuwd!


On our Facebook page Pronty and Friends you can show what yóu made with Pronty products. We look forward to see your artwork!


dinsdag 11 september 2018

Toolbox by Julia Woning

Toolbox 

Vandaag laat ik je zien hoe ik dit project heb gemaakt, onderaan dit artikel staat een film het eind resultaat.

Today I will show you how pimp up my toolbox. 


Eerst lijm ik de tool box in elkaar ik laat een aantal tussen schotjes weg omdat ik grote vakjes wil. Dan geef ik alles met acrylverf een kleur en hier en daar met een stencil van de Pronty crafts by Jukia Woning lijn de boarders.

First I glue the toolbox together. Then I give it a colour with acrylics. Some decoration with the Boarders from Pronty Crafts by Julia Woning.


Dan gebruik ik mijn stencil als mal. En teken de dames op de zijkant van de tool box.

Then I use my stencil as a mold tovdraw the Lovely Ladies on the side of the toolbox.


Met acryl verf geef ik de dames kleur.

Then with acrylics I give the ladies colour.


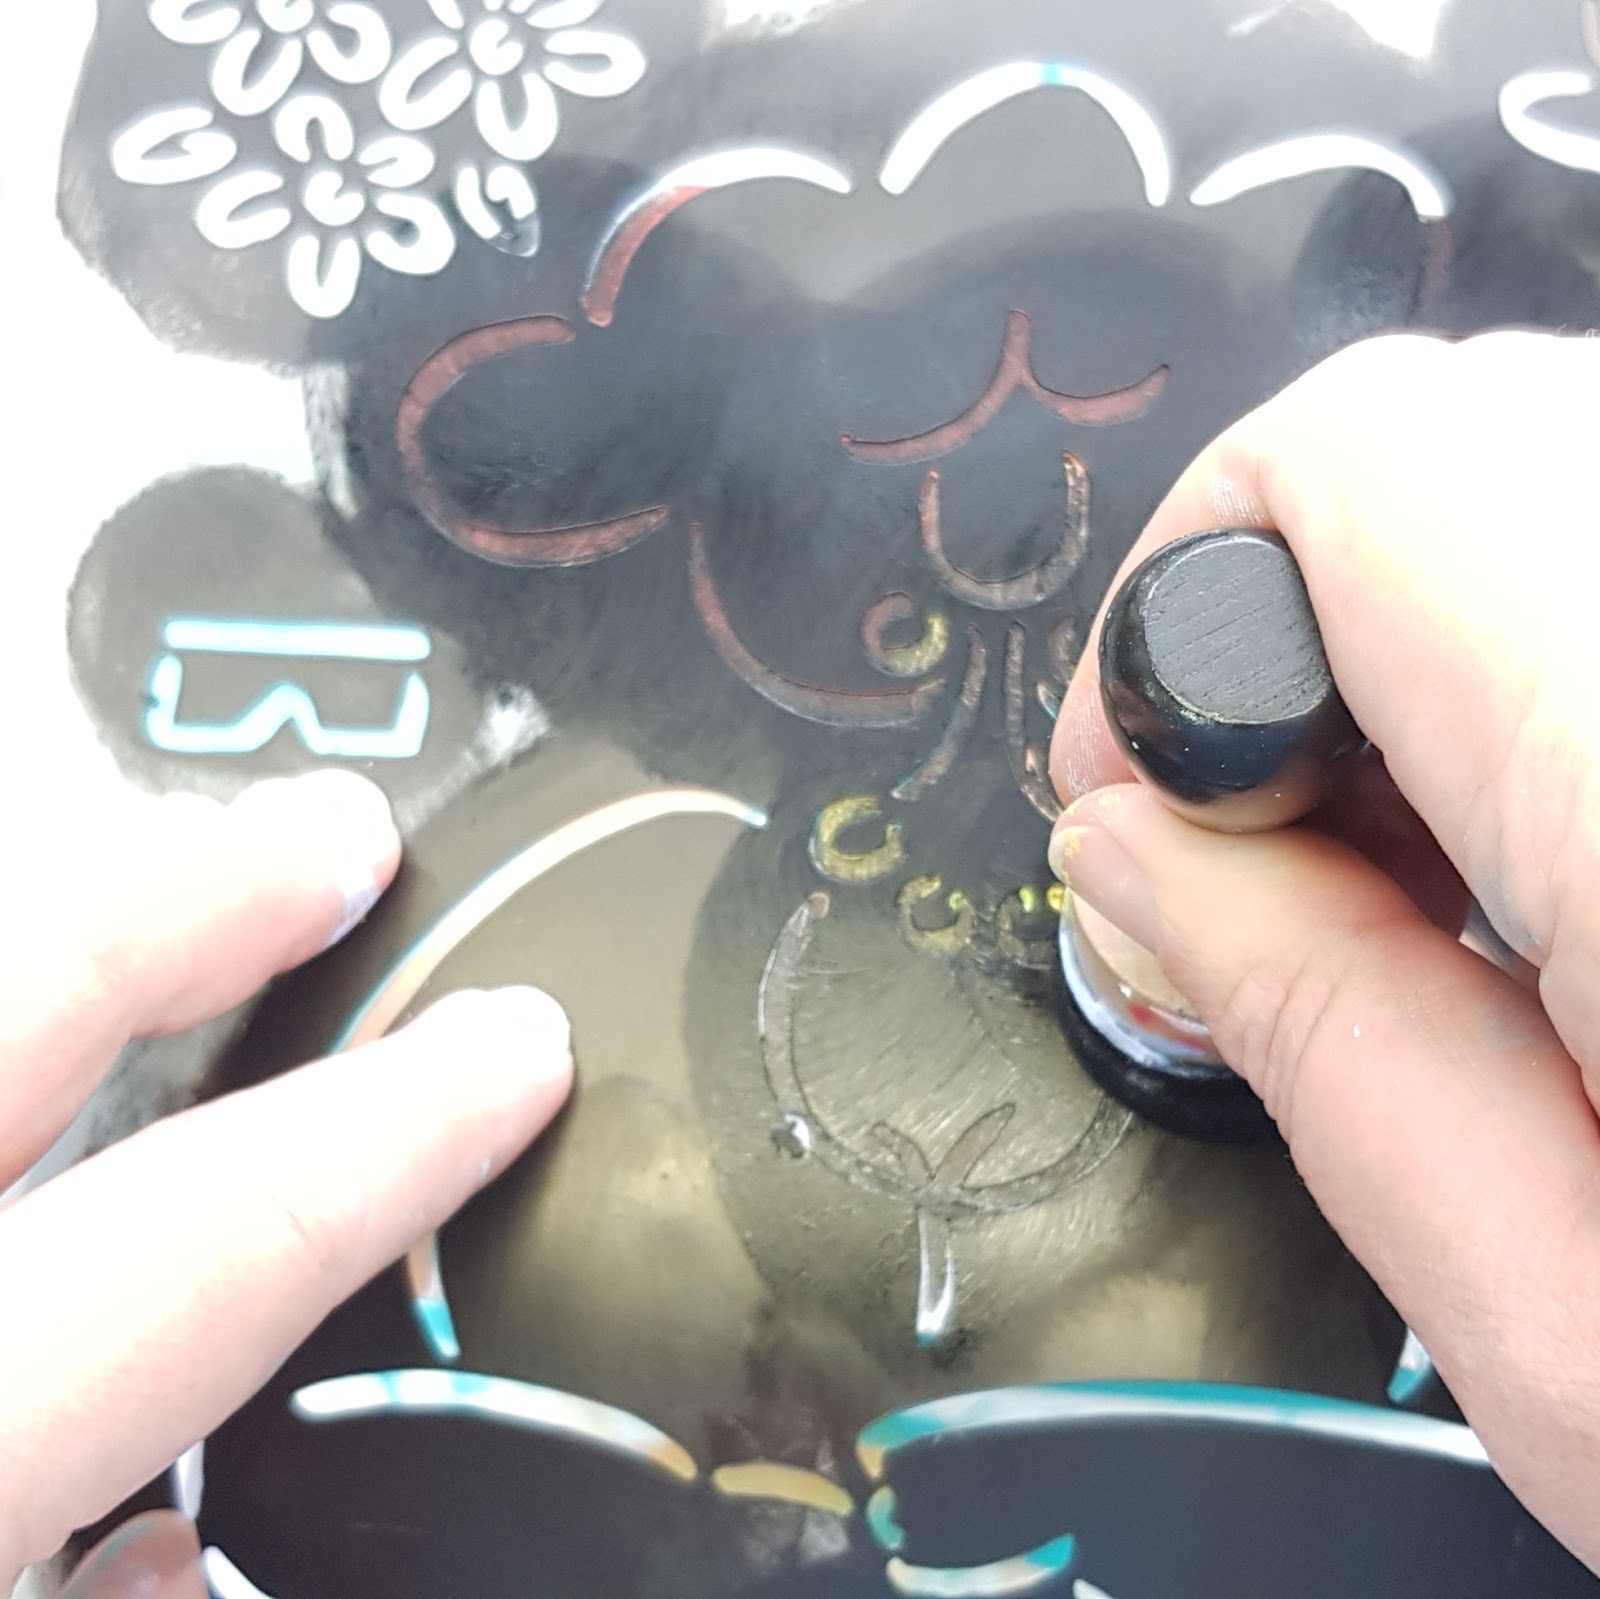
Wanneer het acrylverf gedroogt is breng ik met de stencils nog een afdruk. Met zwart acrylverf en een blendingtool maak ik de afdruk. Ik ben tevreden hoe mijn dames zijn geworden.

When the acrylics dried I put down a stencil and with a blending tool and black acrylic paint I make the stencil print. Love the look of my ladies.


Dan is het tijd om de ander vlakken op te pimpen met mijn stempels. Deze heb ik op papier gestempeld , gekleurd met inktense en opgeplakt met mat medium. Doordat de inktense na droging water vast is geeft het geen kleur meer af als je met medium plakt.

Then its time to pimp up the rest of the toolbox. With my stamps I make a print on paper and give them colour with the Derwent inktense. Them I glue it al with mat medium on the toolbox.

Bekijk het eind resultaat op de film hier onder.
Op onze Facebook-pagina Pronty and friends kun je laten zien wat jíj hebt gemaakt met Pronty producten. We zijn erg benieuwd! Veel plezier en creativiteit gewenst tot de volgende keer.


Julia

See the finished result in the film. On our Facebook page Pronty and Friends you can show what yóu made with Pronty products. We look forward to see your artwork! Lots of creativity and fun, till the next time.

Julia 


Ik heb de volgende Pronty-materialen gebruikt:

I used the following Pronty materials:

Stencil Lovely Lady by Julia (470.765.001)
Stencil Classy Lady by Julia (470.765.003)
Stencil Boarders by Julia (470.765.002)
Foam stempel Flower + Twig by Julia (494.904.001)
Foam stempel Birds by Julia (494.904.003)


Used products:

Pronty crafts toolbox

Pronty Crafts by Julia Woning:
Stencils:
Lovely Lady
Classy Lady
Boarders

Foamstamps:
Birds
Twig & flower


vrijdag 31 augustus 2018

Classy Lady by Julia Woning


Vandaag laat ik je zien hoe ik met mijn stencil van Pronty Crafts by Julia Woning de Classy Lady schilder met Ara Artist acrylverf. Ik begin om mijn dame over te nemen met grafietpotloid. Ik gebruik mijn stencil als mal.

Today I will show you how you can use the Classy Lady stencil from Pronty Crafts by Julia Woning. I worked with the Ara Artist Acrylics. I wil start with a pencil line. I will use the stencil as a template/ mold.


Dan pak ik de basis kleuren wit, geel, rood en blauw van Ara artist acrylverf. Ik meng de juiste kleuren voor mijn Classy Lady.

Then I will get the basic colors of the Ara Artist Acrylics. White, yellow, red and blue and I will mix the colors for my Classy Lady.


Als laatste leg ik nogmaals het stencil over de gedroogde schildering en nu met zwarye verf en een blendingtooltje breng ik de afbeelding over de geschilderde dame.

At last I put my stencil on top of the painted Lady en bring black paint on with a blending tool. 


Bekijk de video hoe ik het heb gedaan. Veel kijk plezier en tot een volgende keer.

Julia Woning

Whatch the video how I did it. Lots of fun watching till next time.

Julia Woning