
Hallo en welkom,
Vandaag alweer een kaart met een vogel. Het hele designteam vindt ze leuk!
-
-
Hello and welcome,
Today another card with a bird, the whole team loves birds!

Hieronder kun je stap voor stap zien hoe ik deze kaart gemaakt heb. Voor de achtergronden heb ik gebruik gemaakt van de stencils en foamstempels uit de "Grunge-lijn" van Pronty. En op het eind heb ik nog een tip!
-
Below you can see step by step how I made this card. For the backgrounds I used the stencils and foam stamps from the "Grunge" series by Pronty. And at the very end of this post I have a tip for you!

Begin met sponzen van een kaartje. Ik gebruikte slechts twee kleuren.Door ze te overlappen ontstaat een derde kleur.
-
Start with sponging your card. I used only two colours. By overlapping them you get a third colour.

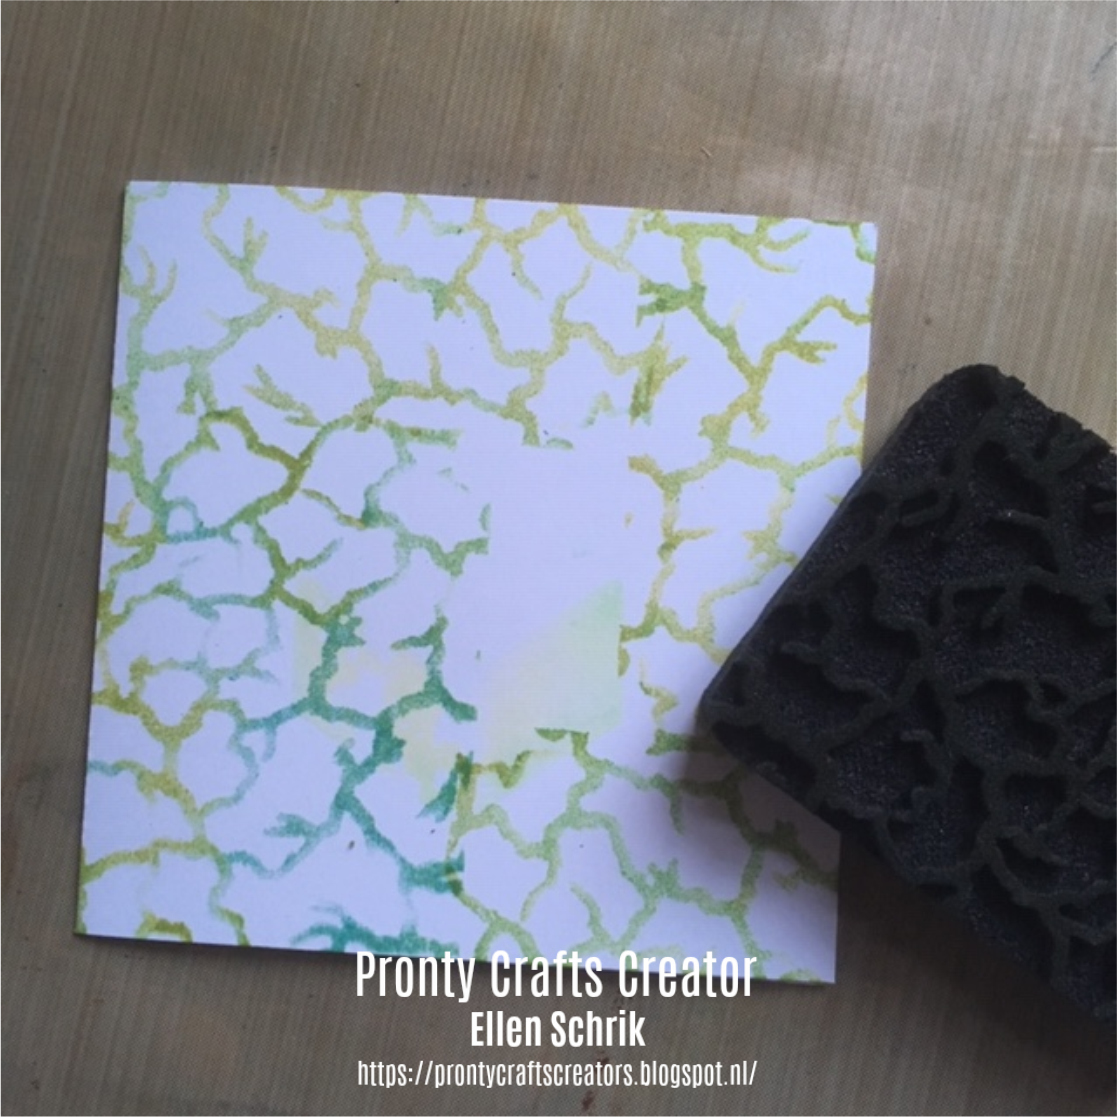
Stempel met een wat vochtige foamstempel op dit kaartje. Hierdoor neem je kleur weg. Wel steeds goed afvegen aan een stukje keukenpapier! Op de foto is het bijna niet te zien, maar je neemt zo echt kleur weg. Ik gebruikte:
494.001.011 Spiral
494.001.010 Chevron
-
Stamp with a damp foam stamp on your card. This way you remove colour. Don't forget to wipe the stamp off on a paper towel! You can hardly see it in the picture, but you really do take away some colour. I used:
494.001.011 Spiral
494.001.010 Chevron

Stempel met dezelfde foamstempels, nu met de gebruikte distress inkten
-
Stamp with the same foam stamps, this time with the same colours distress inks.


Spons hier en daar door stencils voor nog meer diepte op je kaart. Hieronder zie je
A5 470.802.072 Grunge 1
15 x 15 cm 470.801.053 Grunge 1
-
Sponge on several spots through stencils for more depth. These are the ones I used:
A5 470.802.072 Grunge 1
15 x 15 cm 470.801.053 Grunge 1
Op de basiskaart stempel je met een foamstempel, waarop de twee kleuren inkt zijn aangebracht. Doe dit rondom je kaart, met
494.001.012 Dry ground
-
On the card base, stamp with a foam stamp, inking up the stamp with the two colors at the same time. Stamp a wide border this way with
494.001.012 Dry ground
-
Stempel, kleur en knip de vogel, plak deze op je kaart.
Van de mat is alleen de rand beïnkt, rechtsreeks met het stempelkussen.
-
Stamp, colour and cut the bird and adhere to your card.
The mat is only inked up at the edge, using the ink pad.

TIP
Ik wist nog niet zeker waar ik de tekst wilde hebben. Daarom stempelde ik de tekst op een stukje hard plastic verpakkingsmateriaal, zodat ik kon kijken wat ik het mooiste vind. Hieronder zie je met gestempelde sheet en de verschillende mogelijkheden.
-
TIP
I wasn't sure where to put my sentiment, so I stamped it onto a sheet of plastic. That way I could check what the right place was to stamp the sentiment. Below you can see my stamped sheet and the options.

En dit is dan het eindresultaat. Ik ben er blij mee.
Lieve groetjes,
-
And this is the finished card, I'm happy with it.
Kind regards,

Geen opmerkingen:
Een reactie posten